
Multi-File System#
Since version 1.8.0, a WebTigerPython program can consist of several files and folders. They are managed in the file system sidebar. Python files can import each other (e.g. import helper for helper.py or from lib.helper import greet for lib/helper.py), and all files can be read and written from Python with open(). The workspace is stored in the browser, so it is kept when the page is reloaded.
Opening the File System#
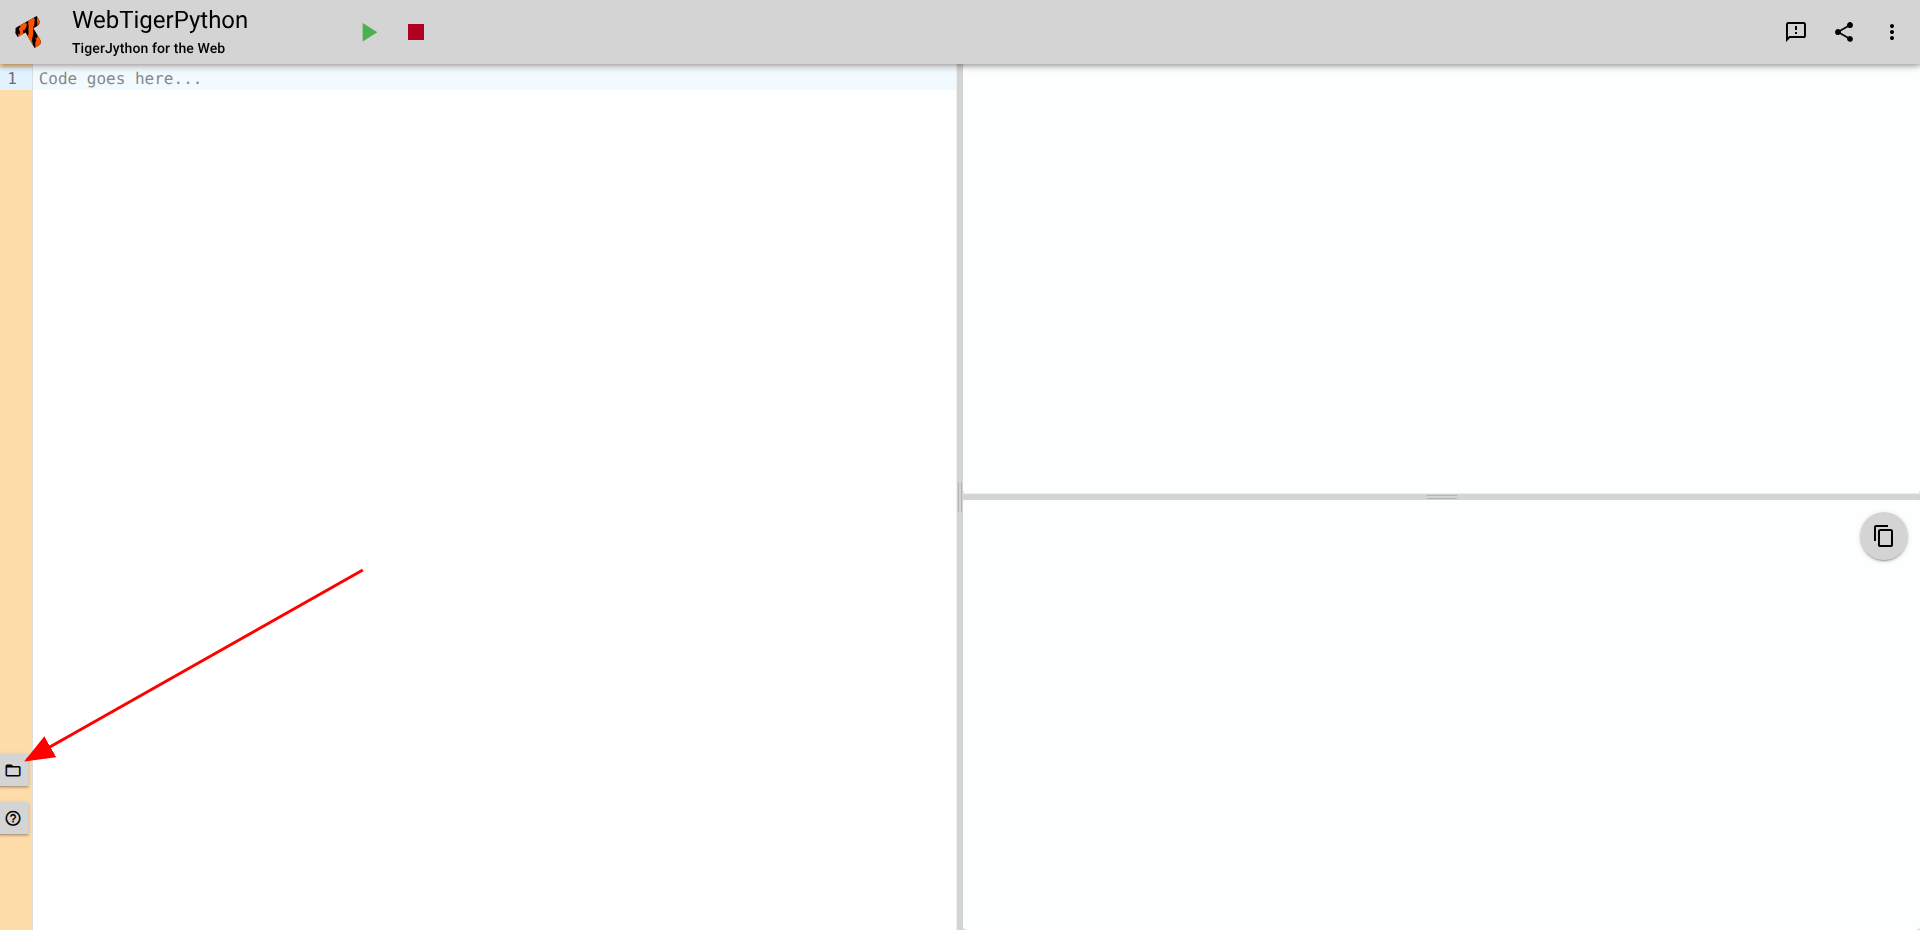
To open the file system, press the grey folder button on the bottom left. This opens the file system sidebar:
Create or Upload new files, folders#
Click the + button in the file system tree to create a new folder, create a new file, or upload a file:
The Plus Button |
Options to Create Folder, Create File or Upload |
|---|---|
|
|
Location of the |
Once clicked, the 3 Options are presented |
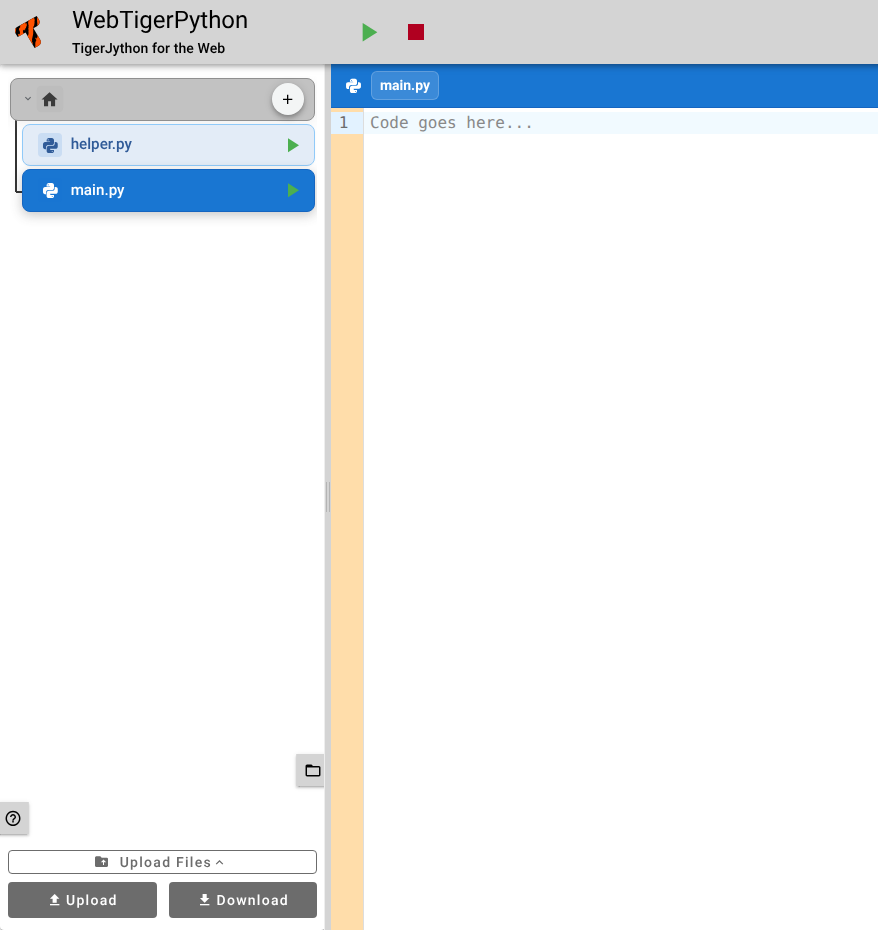
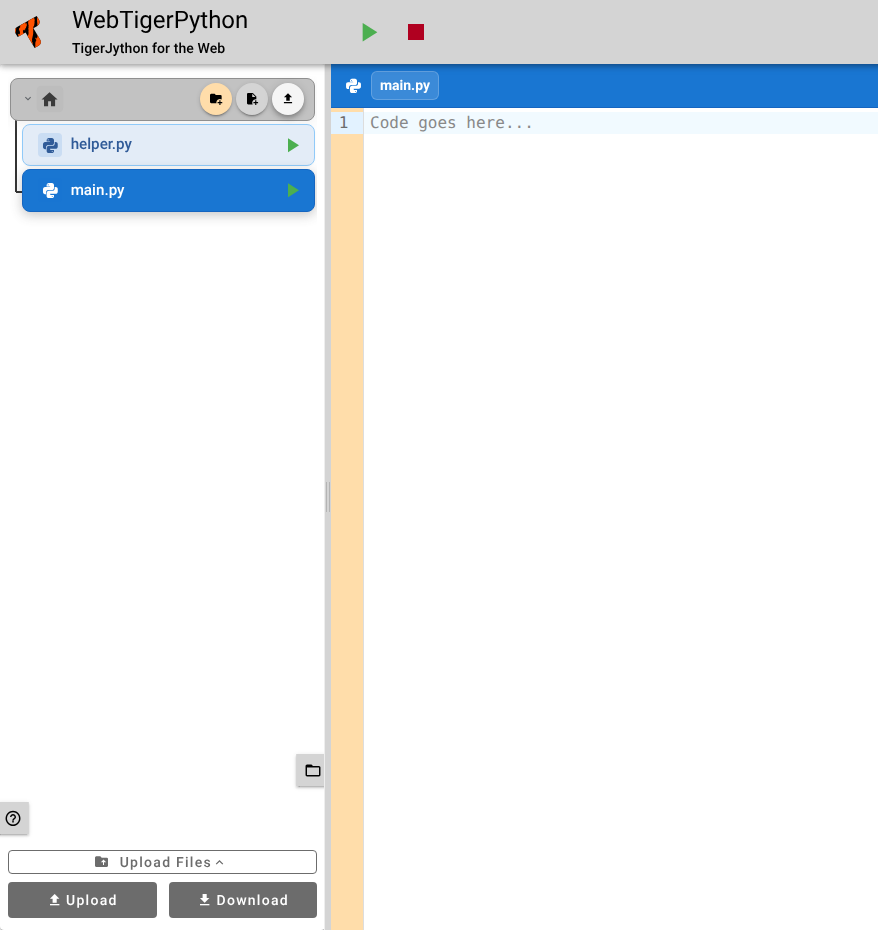
You can upload files of any type, including .zip files. Uploading folders is not supported. To upload a project, compress it into a .zip file first.
Editing Files or Folders#
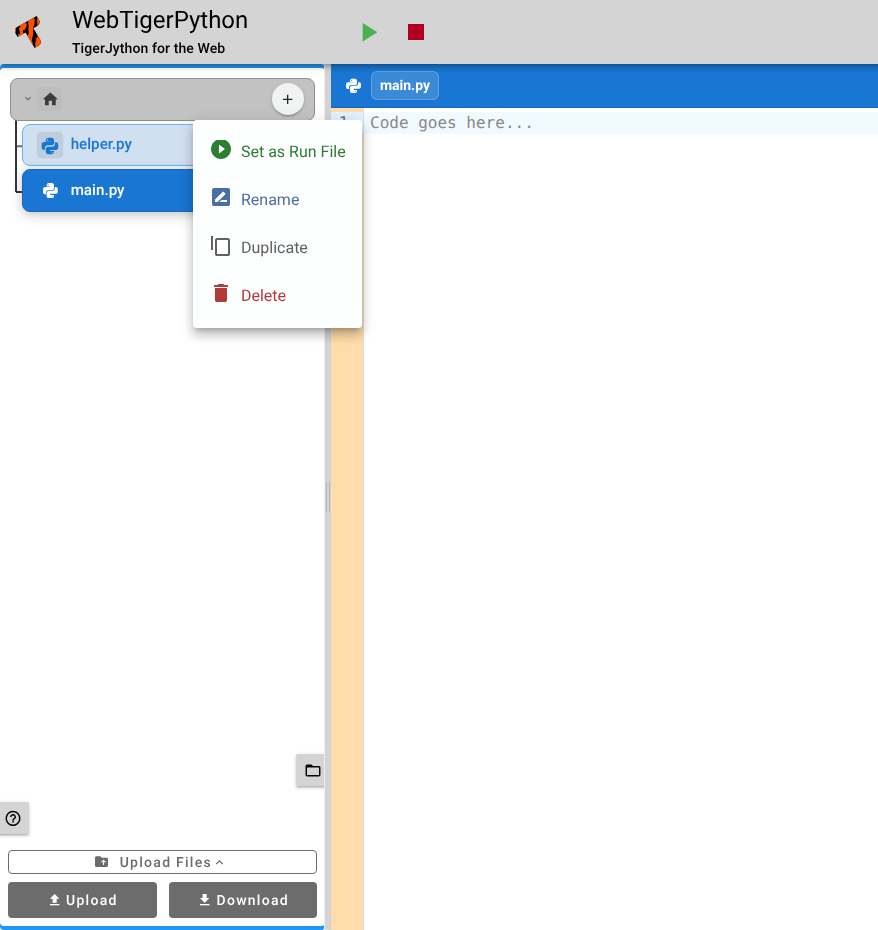
To edit a file or folder, right-click it (or long-touch on touch devices). This opens a context menu with options to Rename, Duplicate, or Delete the item. For .py files, the menu additionally offers Set as Run File (see Running Python).
Running Python#
You can run Python in two ways:
Click the small green run button on a
.pyfile to run that file directly.Use the main run button in the top bar. It runs the file that is currently open in the editor, or the pinned run file if one is set.
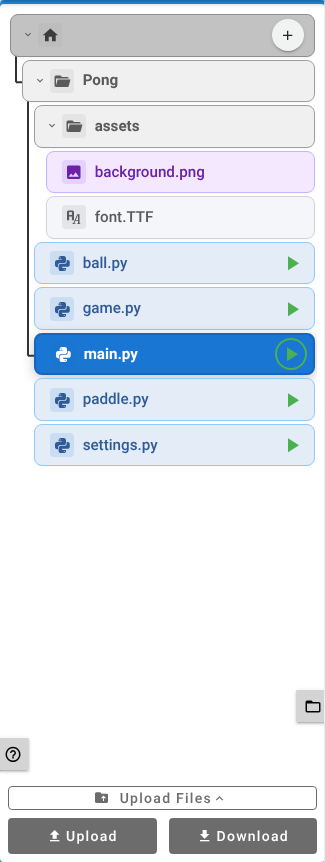
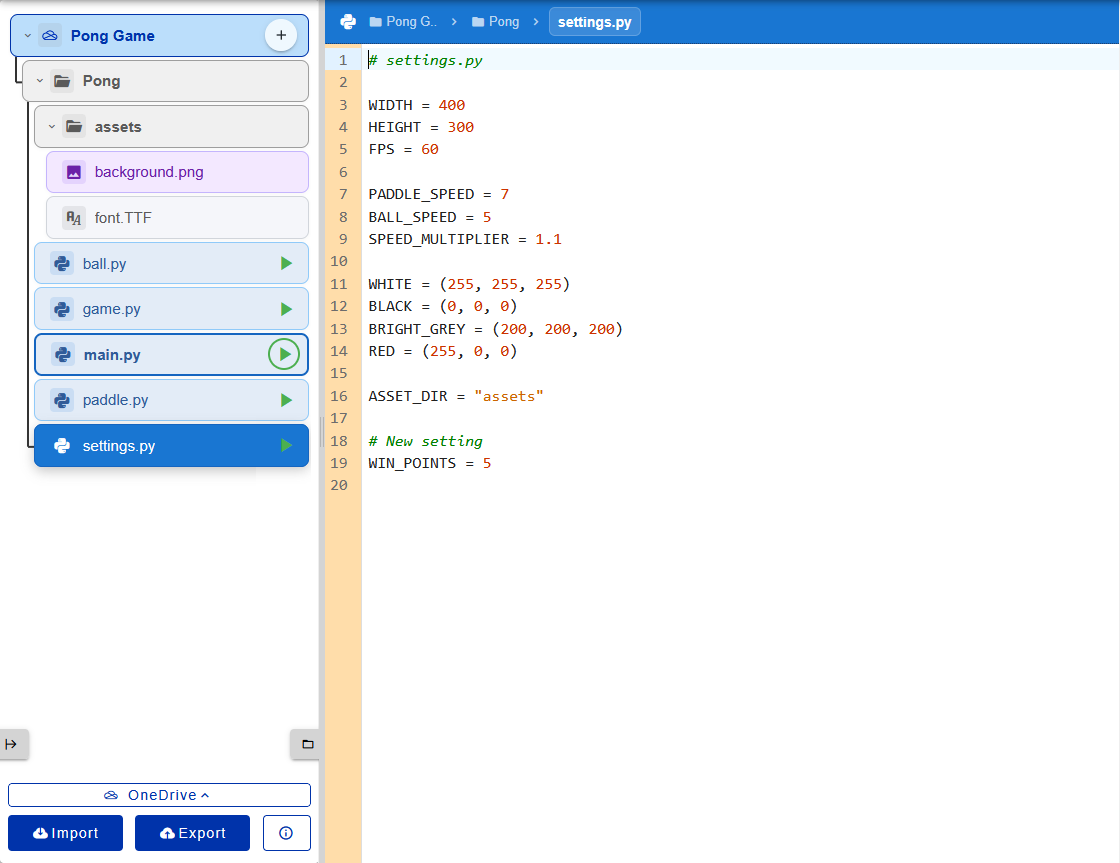
To pin a run file, right-click a .py file and choose Set as Run File. The pinned run file is marked with a circled run button in the file tree (like main.py in the screenshots below), and the main run button always runs it, no matter which file is open. To unpin it, right-click it again and choose Unset Run File.
File Tree Customization#
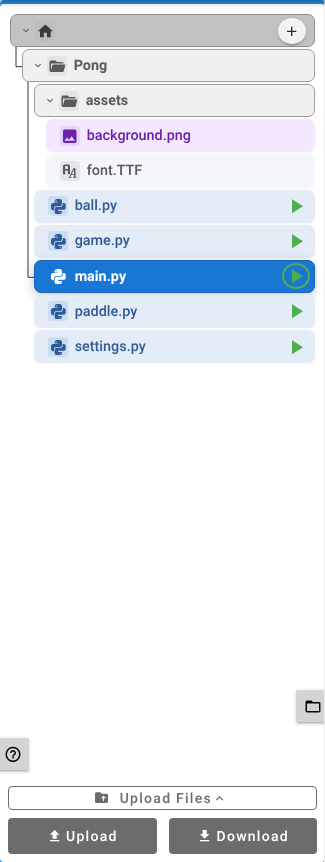
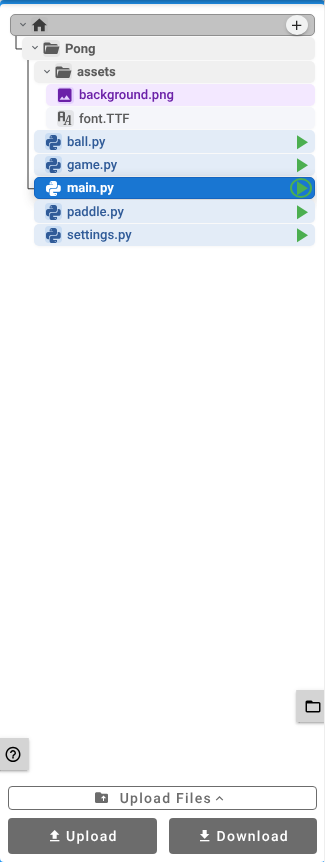
You can resize the file tree by pressing + or - while the File System is focused (click anywhere in the file system sidebar; blue lines at the top and bottom indicate focus).
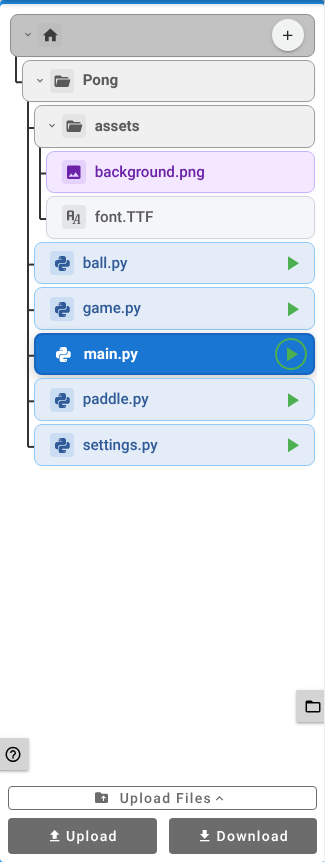
Holding CTRL displays all tree lines.
Default size mode |
Smaller size mode |
Smallest size mode |
Holding |
|---|---|---|---|
|
|
|
|
Viewer File Type Support#
The viewer supports the file types listed below. Files not in this list are shown in a raw, read-only view. If you need support for additional editable file types in WTP, contact the WTP development team.
Responsible Editor |
Supported file types |
|---|---|
CodeMirror (Python mode) |
|
CodeMirror (CSV text mode) |
|
CsvViewer (table mode toggle) |
|
CodeMirror (Markdown raw mode) |
|
MarkdownViewer (preview mode toggle) |
|
CodeMirror (recognized plain text mode) |
|
DatabaseViewer |
|
ImageViewer |
|
AudioViewer |
|
PdfViewer |
|
VideoViewer |
|
FontViewer |
|
ArchiveViewer |
|
Empty binary placeholder panel |
Any known binary type listed above, if the file is empty or the blob cannot be displayed |
CodeMirror (raw read-only fallback) |
Any unrecognized extension not listed above (generic category / unknown file types) |
Upload, Download, Clone, Push, Import, Export#
There are 3 ways to import / export projects to the WTP file system.
Upload Files — Upload and download files between your computer and WTP.
GitHub Clone and Commit — Clone and Commit&Push from/to a GitHub repository.
OneDrive Import and Export — Import and Export files from a OneDrive folder (experimental, only shown after experimental features have been enabled).
These options can be chosen in the provider menu, located at the bottom of the file system sidebar.
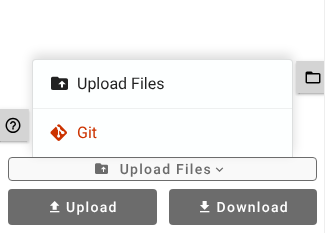
Upload Files: Upload and Download#
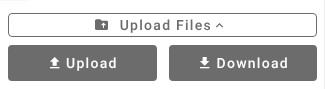
Select Upload Files in the provider menu to access these operations:
Upload — Select files or
.zipfiles from your computer to add to WTP. Warning: This will replace all existing files in the WTP file system.Download — Export all files from the file system as a single
.zipfile to your computer.
GitHub: Clone and Commit&Push#
Select Git in the provider menu
Note
Git clone and gitRepo share links are currently only supported for repositories on GitHub. Public repositories on gitlab.com work as well, but only if the URL ends with .git (e.g. https://gitlab.com/user/repo.git). Other Git hosts (e.g. self-hosted GitLab, Codeberg / Gitea or Bitbucket) are not supported, because the browser blocks the requests (CORS). If an import fails, WTP falls back to an empty main.py.
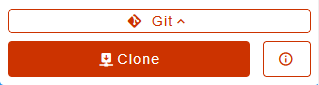
Cloning a repo#
If you click Clone, you are asked for a GitHub repository link. Enter the link and press Enter
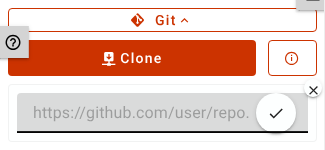
Note: If this repo is private, you are asked for an GitHub Personal Access Token (PAT) for Authentication.
Commit and Push a Repository#
After cloning a repository, you can make changes and later select Push to commit and push your changes.
Clicking Push opens a confirmation dialog showing your changes with an option to enter a commit message.
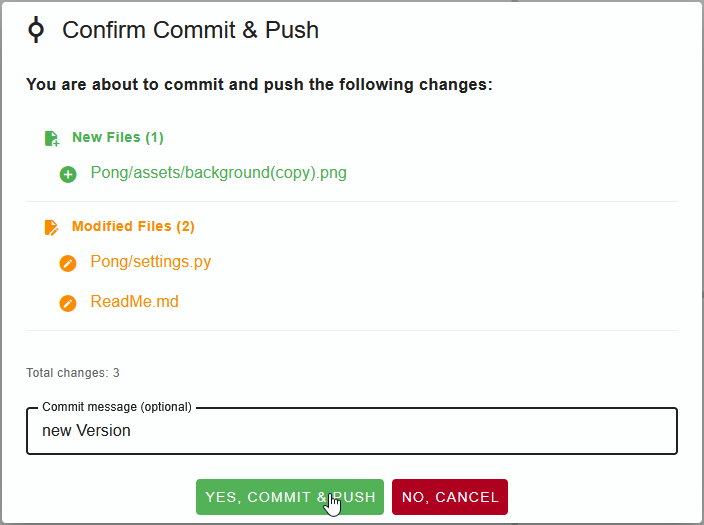
After confirming, the commit and push happen automatically.
Note: Pushing requires authentication. If you haven’t provided credentials yet, you will be prompted for a GitHub Personal Access Token (PAT).
Info Menu#
After cloning a repository, the Info menu shows information about the repository. Click the info button to open it.
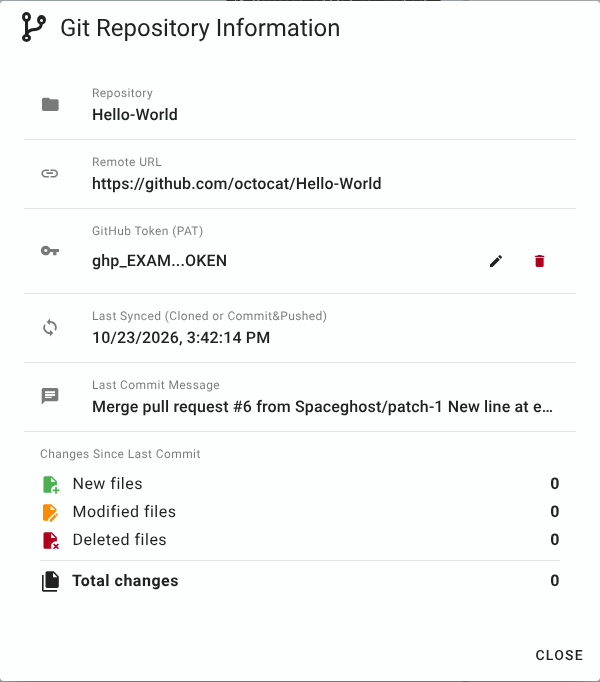
Here you can view, set, edit, or delete the GitHub Personal Access Token (PAT).
Authentication (GitHub Personal Access Token (PAT))#
You can set the GitHub Personal Access Token (PAT) in the Info Menu, or WTP will prompt you for one automatically when it is required and none has been provided yet.
To create a PAT in GitHub:
Open GitHub and go to your account settings.
Select Developer settings.
Open Personal access tokens -> Tokens (classic)
Click Generate new token (classic)
In Select scopes choose to give it repo access.
Ensure to copy the token and store it in the WTP Info Menu.
The token is stored in the browser’s local storage, so it should still be there when you return to WTP at a later time. To remove it, you have to delete it in the Info Menu.
OneDrive: Import and Export#
Select OneDrive in the provider menu
Note
OneDrive is an experimental feature. It is only shown in the provider menu after experimental features have been enabled by calling experimental() in the browser console.
Login to OneDrive#
To access your OneDrive storage, you need to log in first.
Here’s how it works:
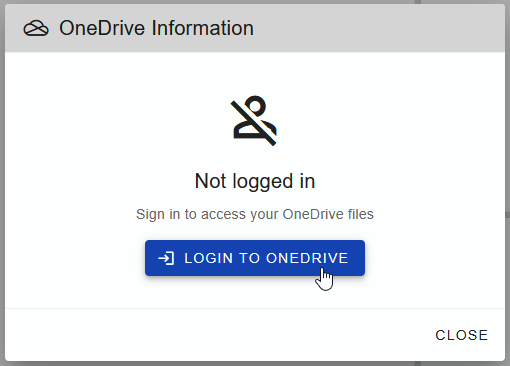
Click the Info button in the OneDrive menu.
Click Login to OneDrive.
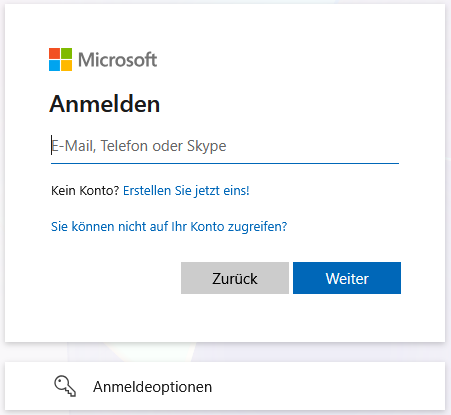
You will be redirected to the Microsoft sign-in page. Sign in with your Microsoft account.
You will then be redirected back:
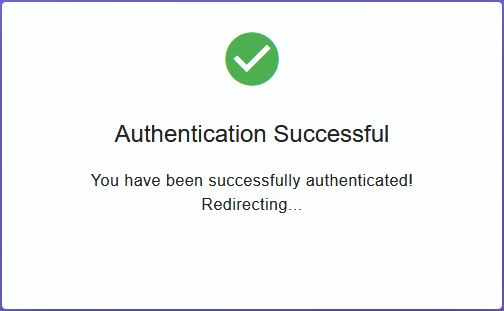
- If successful, you will briefly see a success message and then be redirected to WTP, now logged in.
- If unsuccessful, you will see an error message on the redirect page.
Step 2: Login button |
Step 3: Microsoft sign-in |
Step 4a: Successful redirect |
Step 4b: Failed redirect |
|---|---|---|---|
|
|
|
|
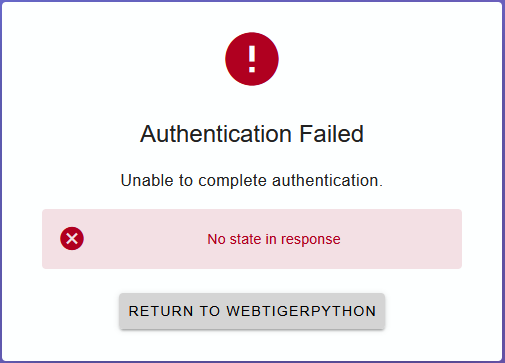
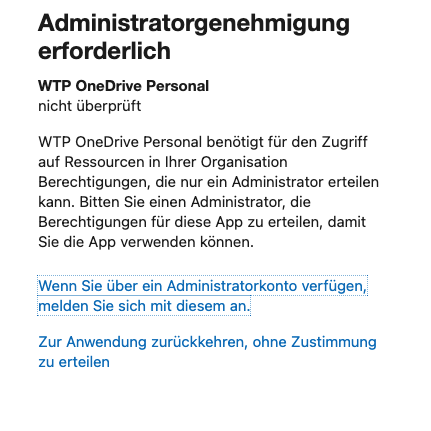
Note: For school accounts, your Microsoft administrator must allow WTP as a trusted application. If you see the following error on the login page, contact your school’s Microsoft administrator.
Import from OneDrive#
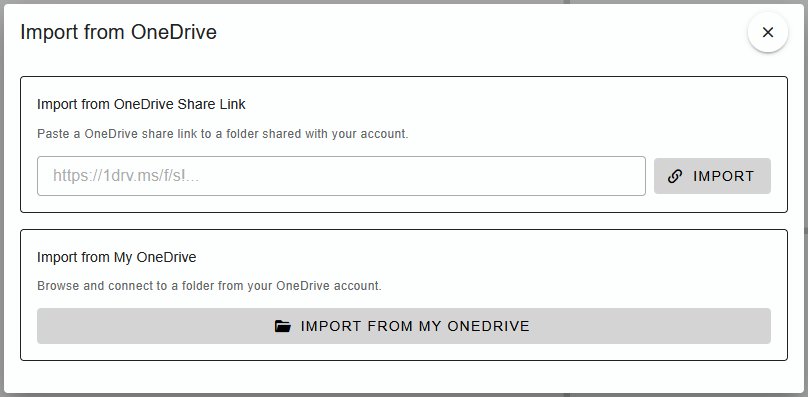
Importing from OneDrive has 2 options
Import through a sharelink
Import from your OneDrive folder
Import from your OneDrive folder#
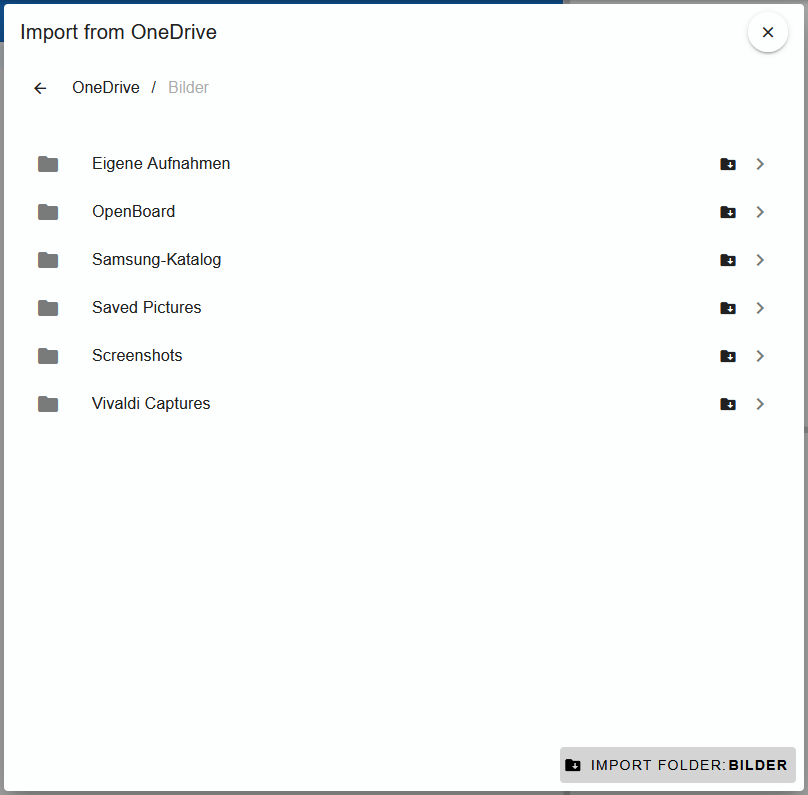
Choosing Import from my OneDrive opens your OneDrive folder contents. Here, you can select a folder to import.
After importing, WTP stays connected to this OneDrive folder. If you later press Export, your changes are exported directly back to the same OneDrive folder.
Export to OneDrive#
Connected folder#
If you have previously imported from OneDrive (indicated by a blue OneDrive folder at the root), pressing Export automatically exports your changes back to the linked OneDrive folder.
Not connected folder#
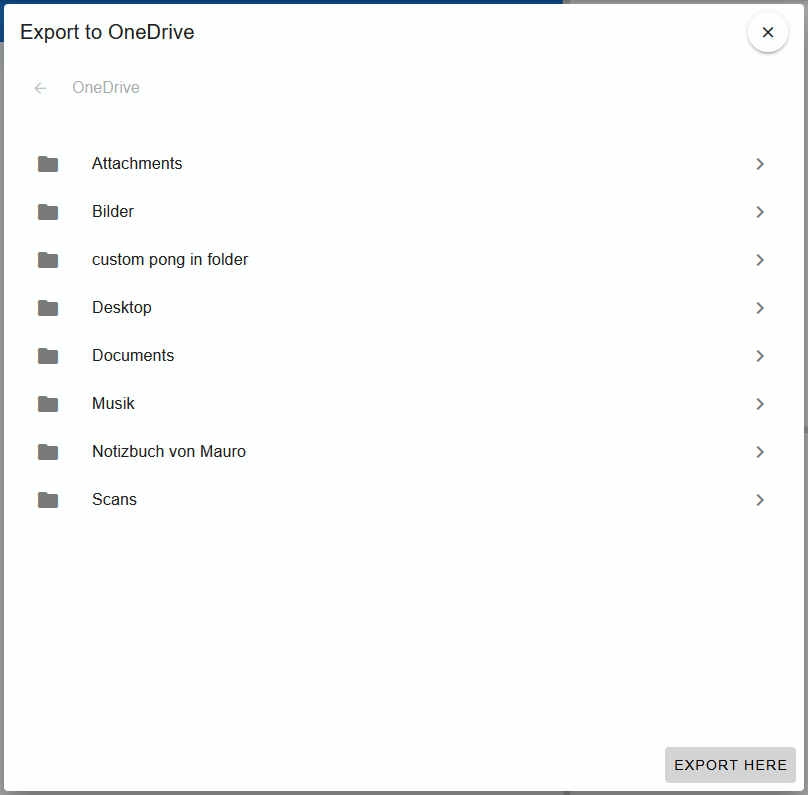
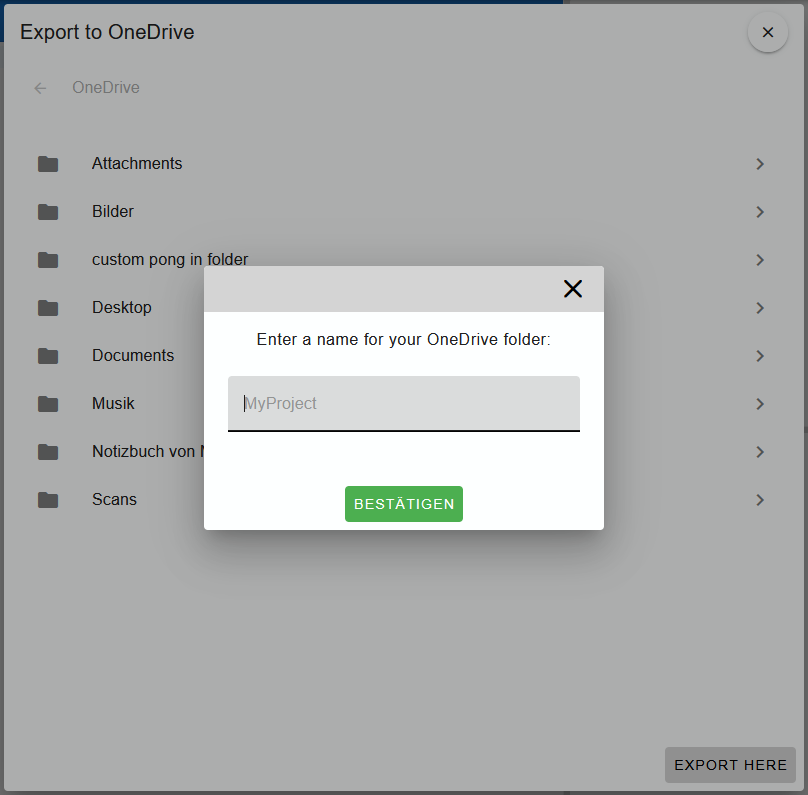
If you are not yet connected to a OneDrive folder (default root with the home icon), pressing Export opens the OneDrive file system, where you can choose a target folder for your WTP project.
After selecting a folder, you will be prompted to enter a project name. WTP then exports everything to a newly created folder and automatically links to it. Future Export actions will export directly to this linked folder.
Export folder selection |
Project name prompt |
|---|---|
|
|
Here’s an example of WTP with a connected OneDrive folder.
Safe Exam Browser#
In the Safe Exam Browser, only the Upload Files provider is available. Git and OneDrive are disabled, because they reach outside of the exam machine.
Devices#
The micro:bit and the Calliope mini only support a flat file system without folders. Before one of these devices can be selected, the workspace has to be flat. When flashing, every file of the workspace is copied to the device and main.py is always the file that is run.
Examples#
Reading a text file#
In the following example, the program reads the encrypted text file textfile.txt and decrypts it.
textfile.txt
Glhv lvw hlq Ehlvslhowhaw, ghu plw hlqhp Nolfn yhuvfkoxhvvhow zhughq ndqq.
Using your own Python library#
Python files can be imported from other files, also from folders.
mylib/library.py
def example():
    print("This function is in a separate library")
from mylib.library import example

example()